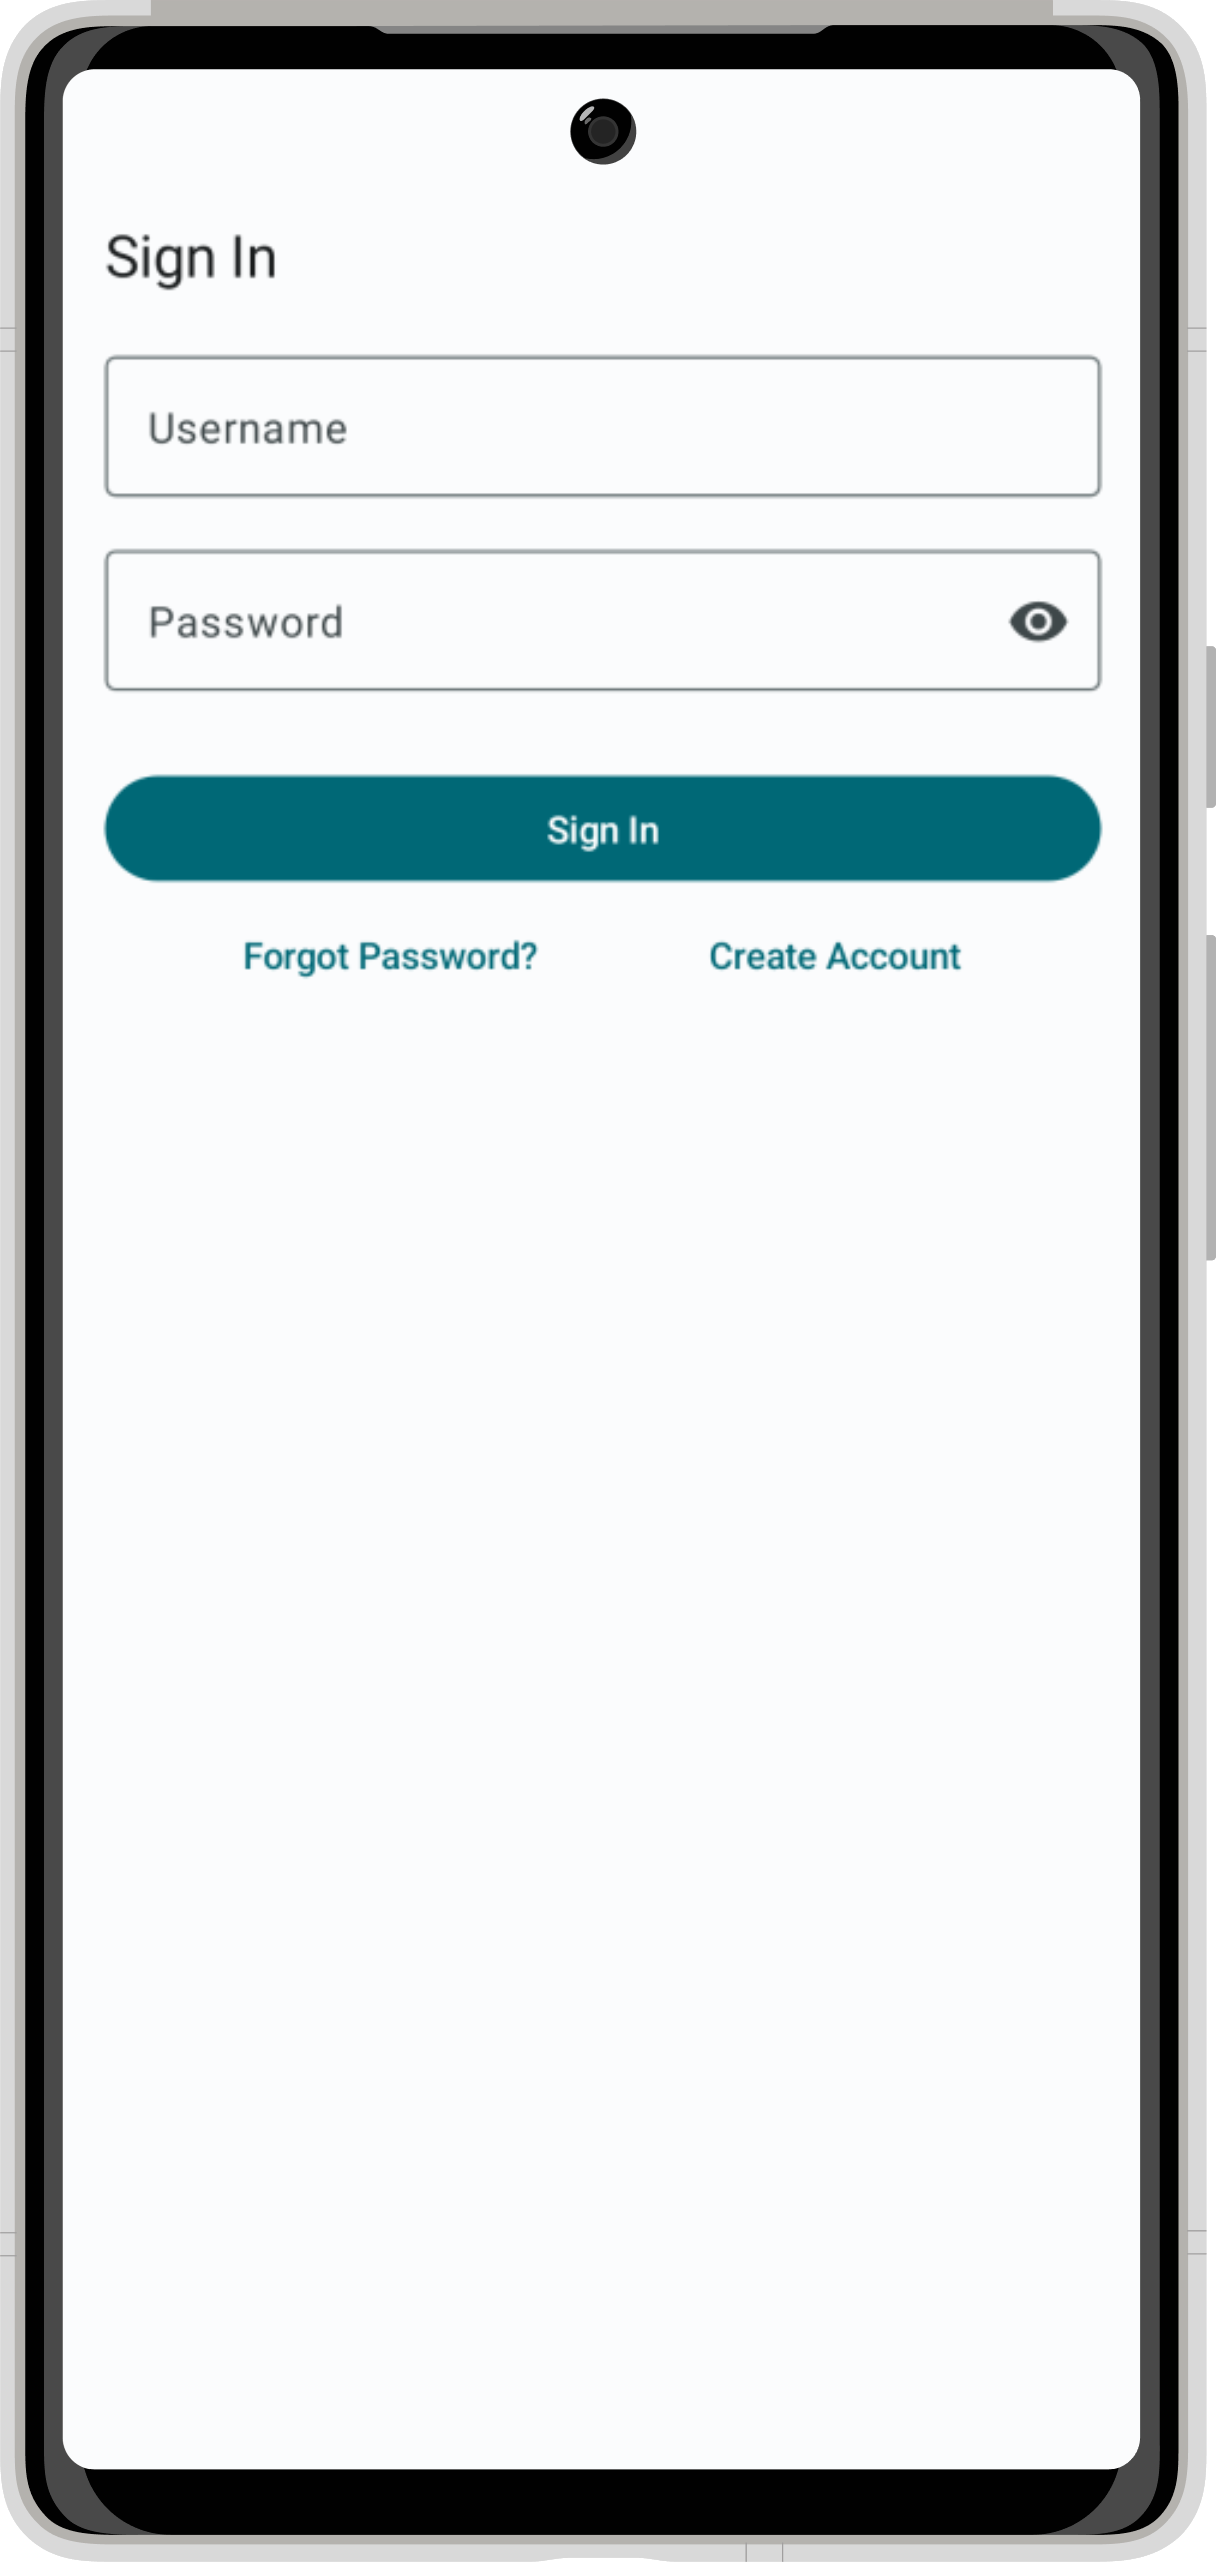
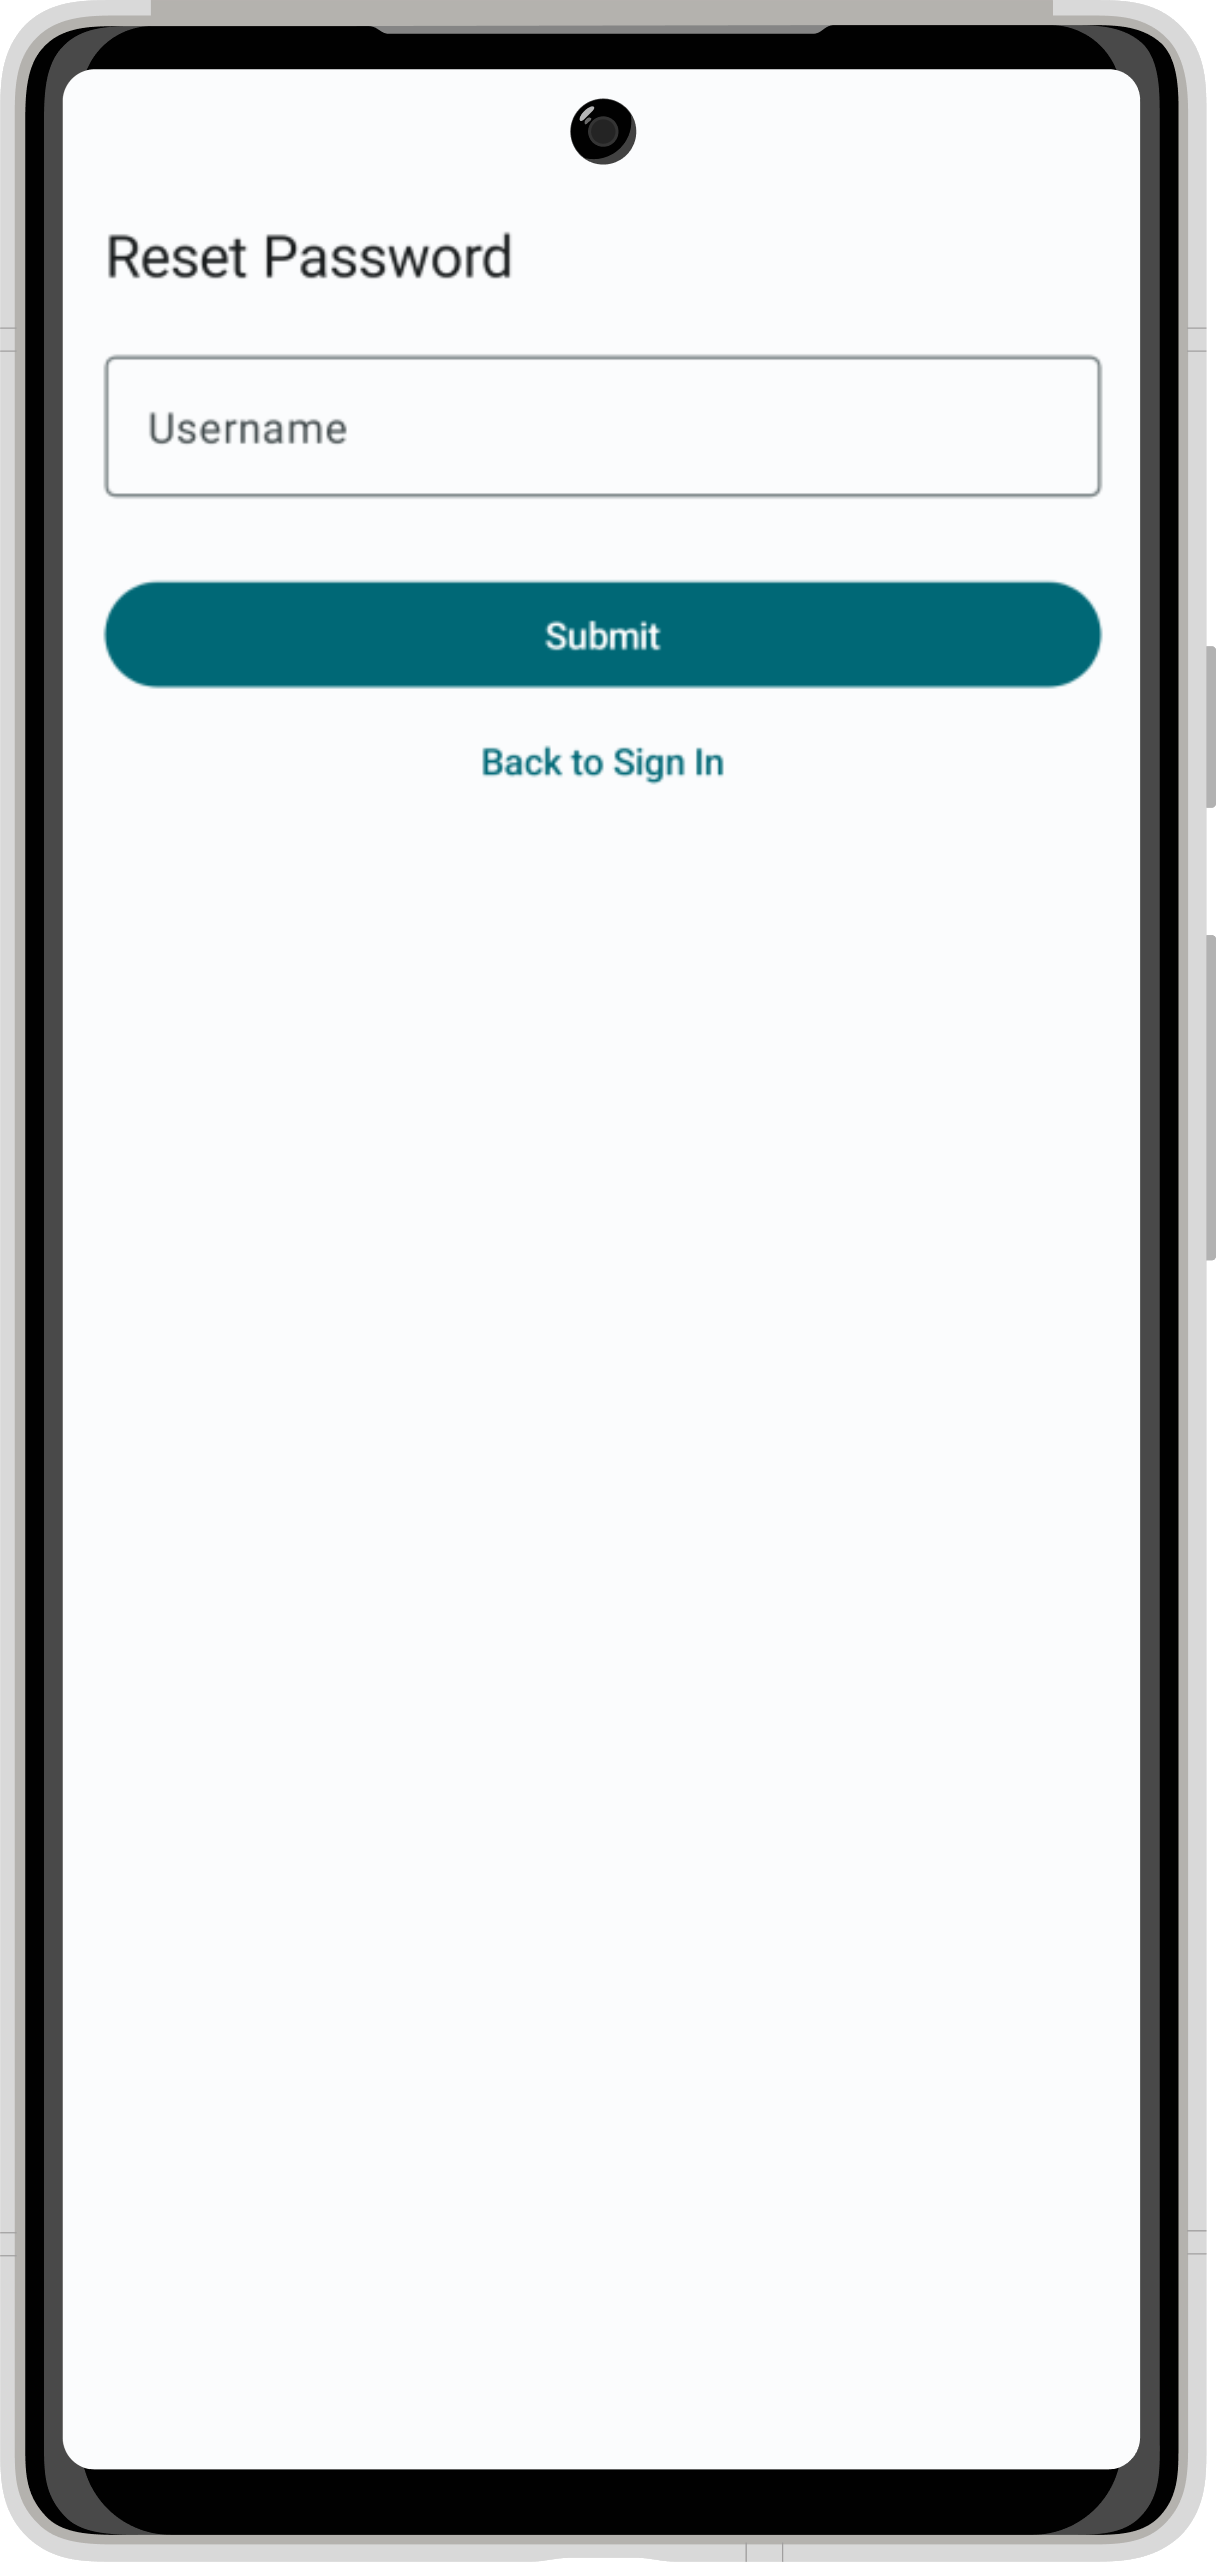
The Authenticator component adds complete authentication flows to your application with minimal boilerplate.

Quick start
Setup with Amplify Gen 2 backend
To get up and running with the Authenticator, follow the Amplify Gen2 quickstart guide.
Setup with Amplify Gen 1 backend
To setup Amplify using the Gen1 CLI, follow the steps below:
Step 1. Configure backend
Run amplify add auth to configure how you want the Authenticator and its associated Cognito resources to behave. If you want more details on all of the options available in this step, please check out the Amplify Android Auth getting started page or the more detailed Amplify CLI documentation.
amplify add authamplify pushAlternatively, if you already have an Amplify app set up that you want to import the backend from, run amplify pull to sync your amplifyconfiguration.json with your cloud backend:
amplify pullThis will update your amplifyconfiguration.json with your latest backend configuration for the Authenticator.
Step 2. Install dependencies
The Authenticator component is built using Jetpack Compose. Enable Jetpack Compose by adding the following to the android section of your app's build.gradle file:
compileOptions {
    // Support for Java 8 features
    coreLibraryDesugaringEnabled true
    sourceCompatibility JavaVersion.VERSION_1_8
    targetCompatibility JavaVersion.VERSION_1_8
}
buildFeatures {
    compose true
}
composeOptions {
  kotlinCompilerExtensionVersion '1.5.3'
}
Add the following dependencies to your app's build.gradle file and click "Sync Now" when prompted:
dependencies {
    // Authenticator dependency
    implementation 'com.amplifyframework.ui:authenticator:1.4.0'

    // Support for Java 8 features
    coreLibraryDesugaring 'com.android.tools:desugar_jdk_libs:1.1.5'
}
Step 3. Add the Authenticator
The quickest way to get started is by wrapping your App component (written in Jetpack Compose) with the Authenticator widget. Once an end-user has created an account & signed in, your content will be displayed.
In the onCreate of your Application class, add the Auth plugin before calling Amplify.configure.
override fun onCreate() {
    super.onCreate()

    try {
        Amplify.addPlugin(AWSCognitoAuthPlugin())
        Amplify.configure(applicationContext)
        Log.i("MyAmplifyApp", "Initialized Amplify")
    } catch (error: AmplifyException) {
        Log.e("MyAmplifyApp", "Could not initialize Amplify", error)
    }
}
Add the Authenticator to your app by wrapping your component (represented here by the @Composable function SignedInContent) with the Authenticator component.
import android.os.Bundle
import androidx.activity.ComponentActivity
import androidx.activity.compose.setContent
import androidx.compose.foundation.layout.Column
import androidx.compose.material3.Button
import androidx.compose.material3.Text
import androidx.compose.runtime.Composable
import androidx.compose.runtime.rememberCoroutineScope
import com.amplifyframework.ui.authenticator.SignedInState
import com.amplifyframework.ui.authenticator.ui.Authenticator
import kotlinx.coroutines.launch

class MainActivity : ComponentActivity() {
    override fun onCreate(savedInstanceState: Bundle?) {
        super.onCreate(savedInstanceState)

        setContent {
            Authenticator { state ->
                SignedInContent(state)
            }
        }
    }
}

@Composable
fun SignedInContent(state: SignedInState) {
    val scope = rememberCoroutineScope()
    Column {
        Text("You've signed in as ${state.user.username}")
        Button(onClick = { scope.launch { state.signOut() } }) {
            Text("Sign Out")
        }
    }
}